Tutorial: Package a private Azure DevOps dependency
This tutorial guides you through creating an overlay port for a library hosted on a private Azure DevOps repository, covering authentication setup and packaging into an overlay.
Prerequisites:
- Basic understanding of Git and kmpkg.
- Access to Azure DevOps with permissions to create projects and manage SSH keys.
kmpkginstalled on your system.- Git installed on your system.
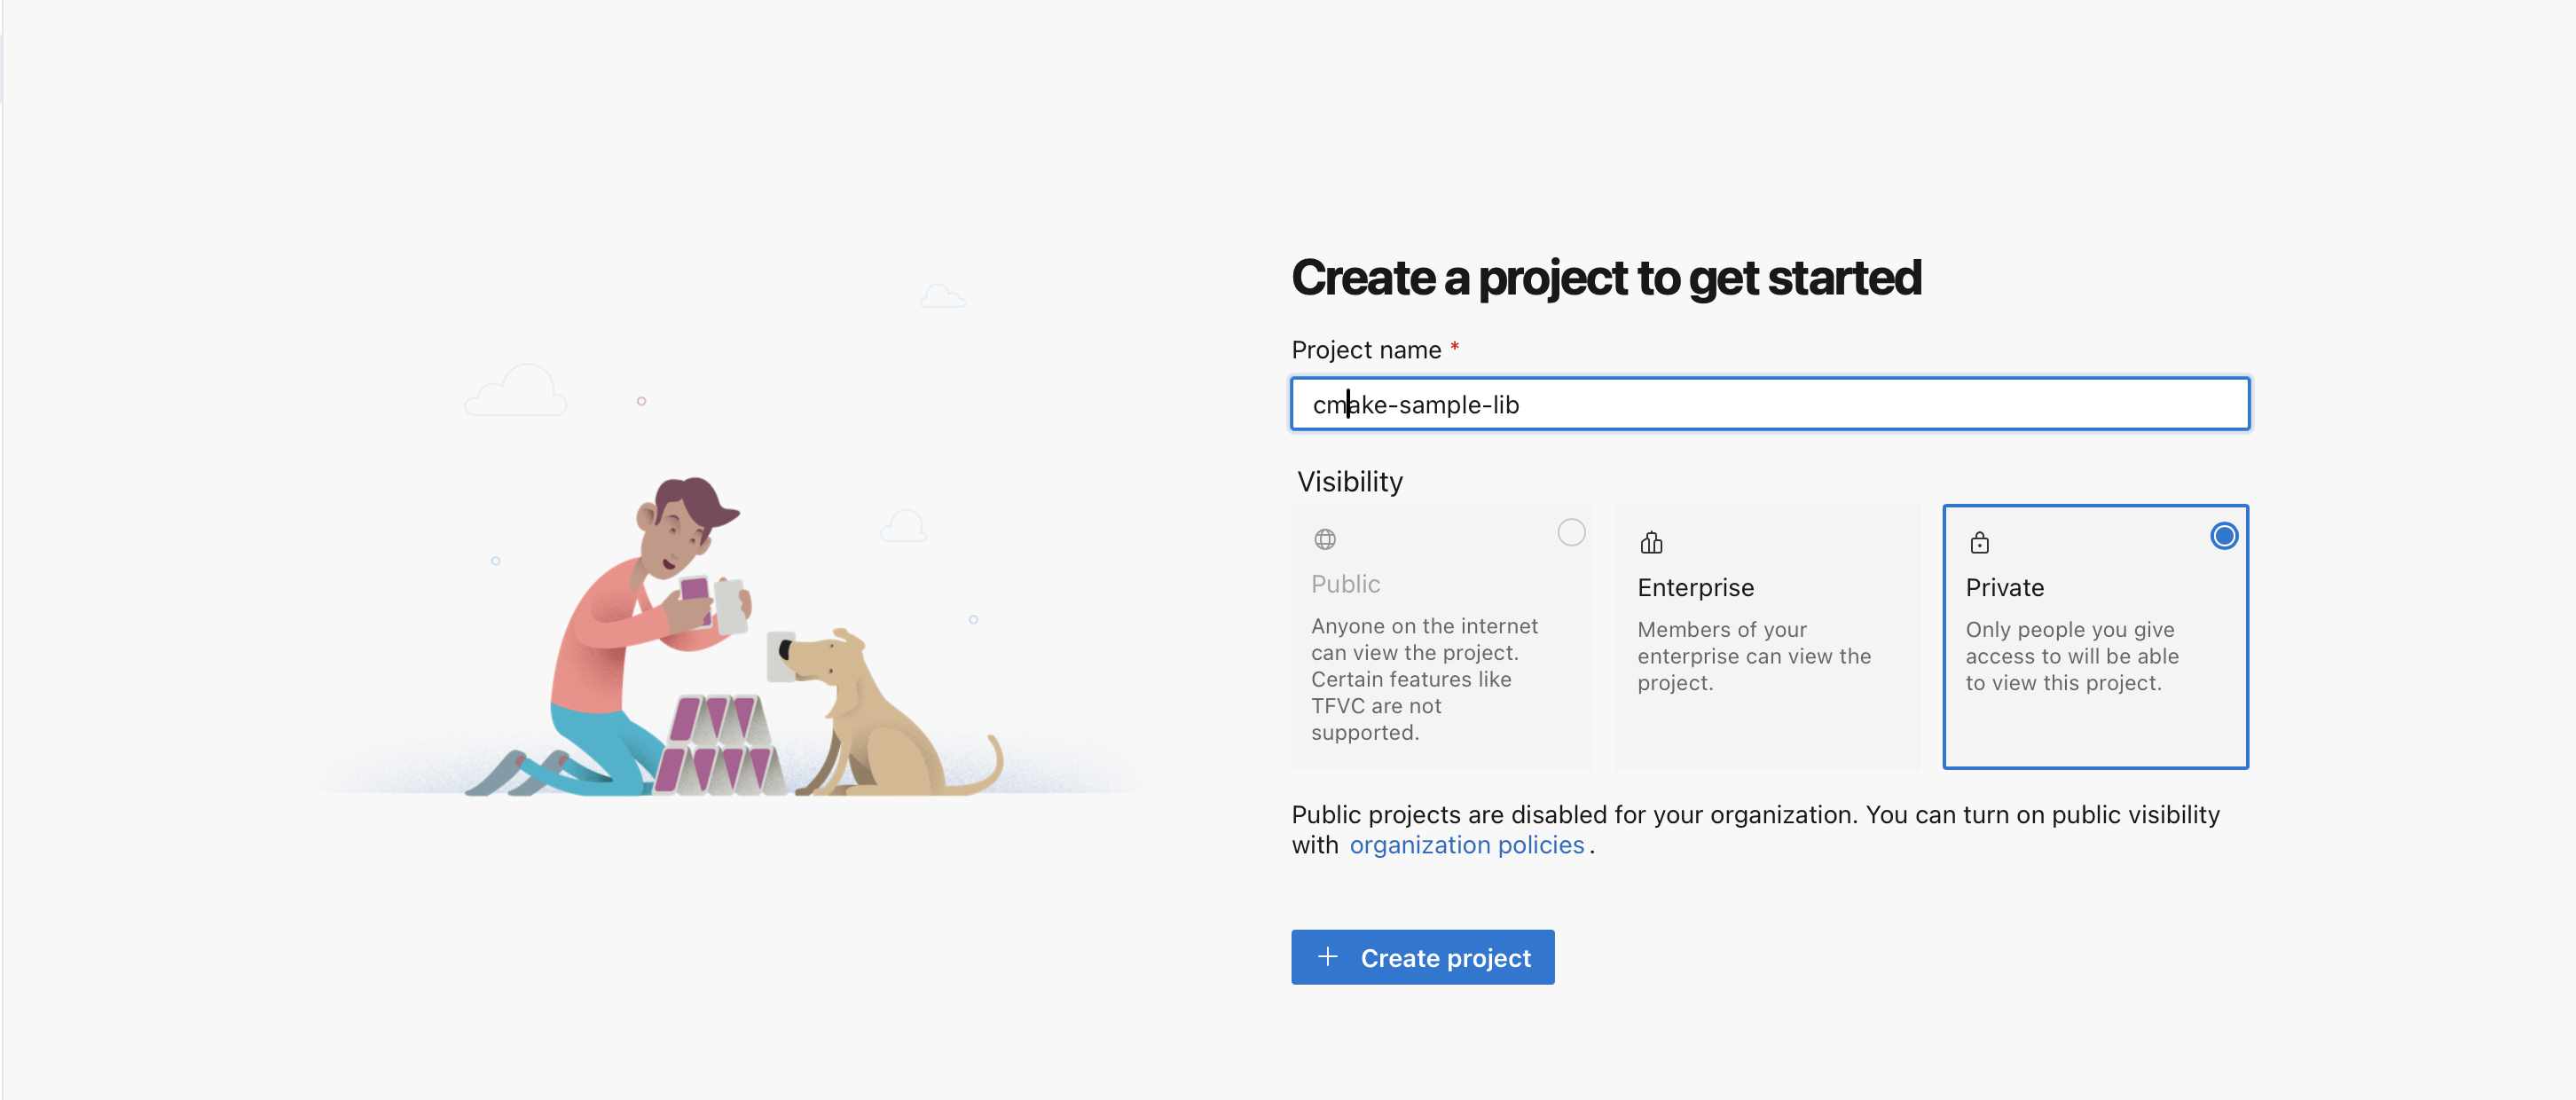
1 - Create a private project
- Log into your Azure DevOps account
- Create a new private project. If you don't have an organization, you'll be prompted to create one during the project creation process.
- Name your project: Choose a meaningful name that reflects your library or its purpose.
- Visibility: Ensure the project is set to "Private" to control access.
2 - Set Up Authentication in Azure DevOps
Secure access to your repository with SSH keys.
-
Generate an SSH Key Pair
-
Open a terminal or command prompt.
-
Run the following command:
ssh-keygen -t rsa -b 4096 -C "ADO-RSA" -f /path/to/.ssh/id_rsa_ado-t rsa: Specifies the type of key to create, in this case, RSA.-b 4096: Sets the number of bits in the key, in this case, 4096, which is considered strong and secure.-C "ADO-RSA": Adds a label to the key for identification, which can be particularly useful when you have multiple keys.-f /path/to/.ssh/id_rsa_ado: Specifies the filename for the new key. This command saves the private key toid_rsa_adoand the public key toid_rsa_ado.pub.
You'll be prompted to enter a passphrase for additional security. You can either enter a passphrase or press Enter to proceed without one. A passphrase adds an extra layer of security by requiring the passphrase to be entered whenever the key is used.
-
After the key generation, confirm the new key is created by listing the contents of your
/.ssh/directory again:ls /path/to/.ssh
-
- Add your SSH key to Azure DevOps
- Open the
id_rsa_ado.pubfile with a text editor to view the public key. - Copy the entire content of the file.
- Navigate to your User Settings > SSH Public Keys.
- Open the
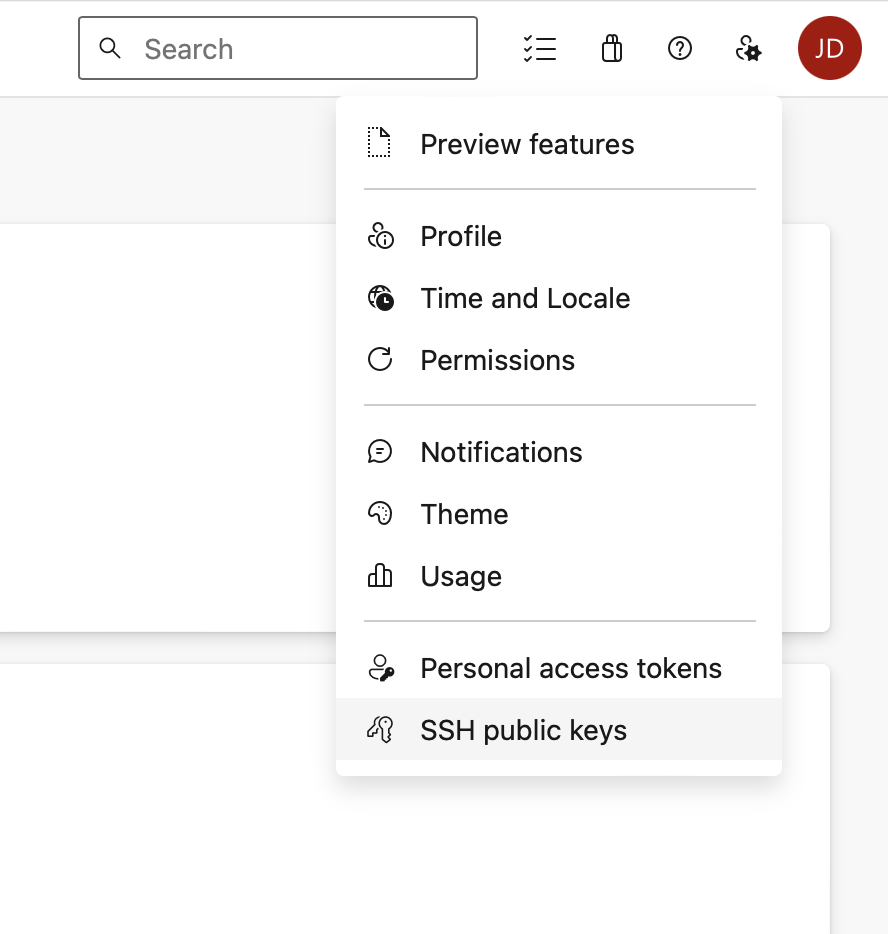
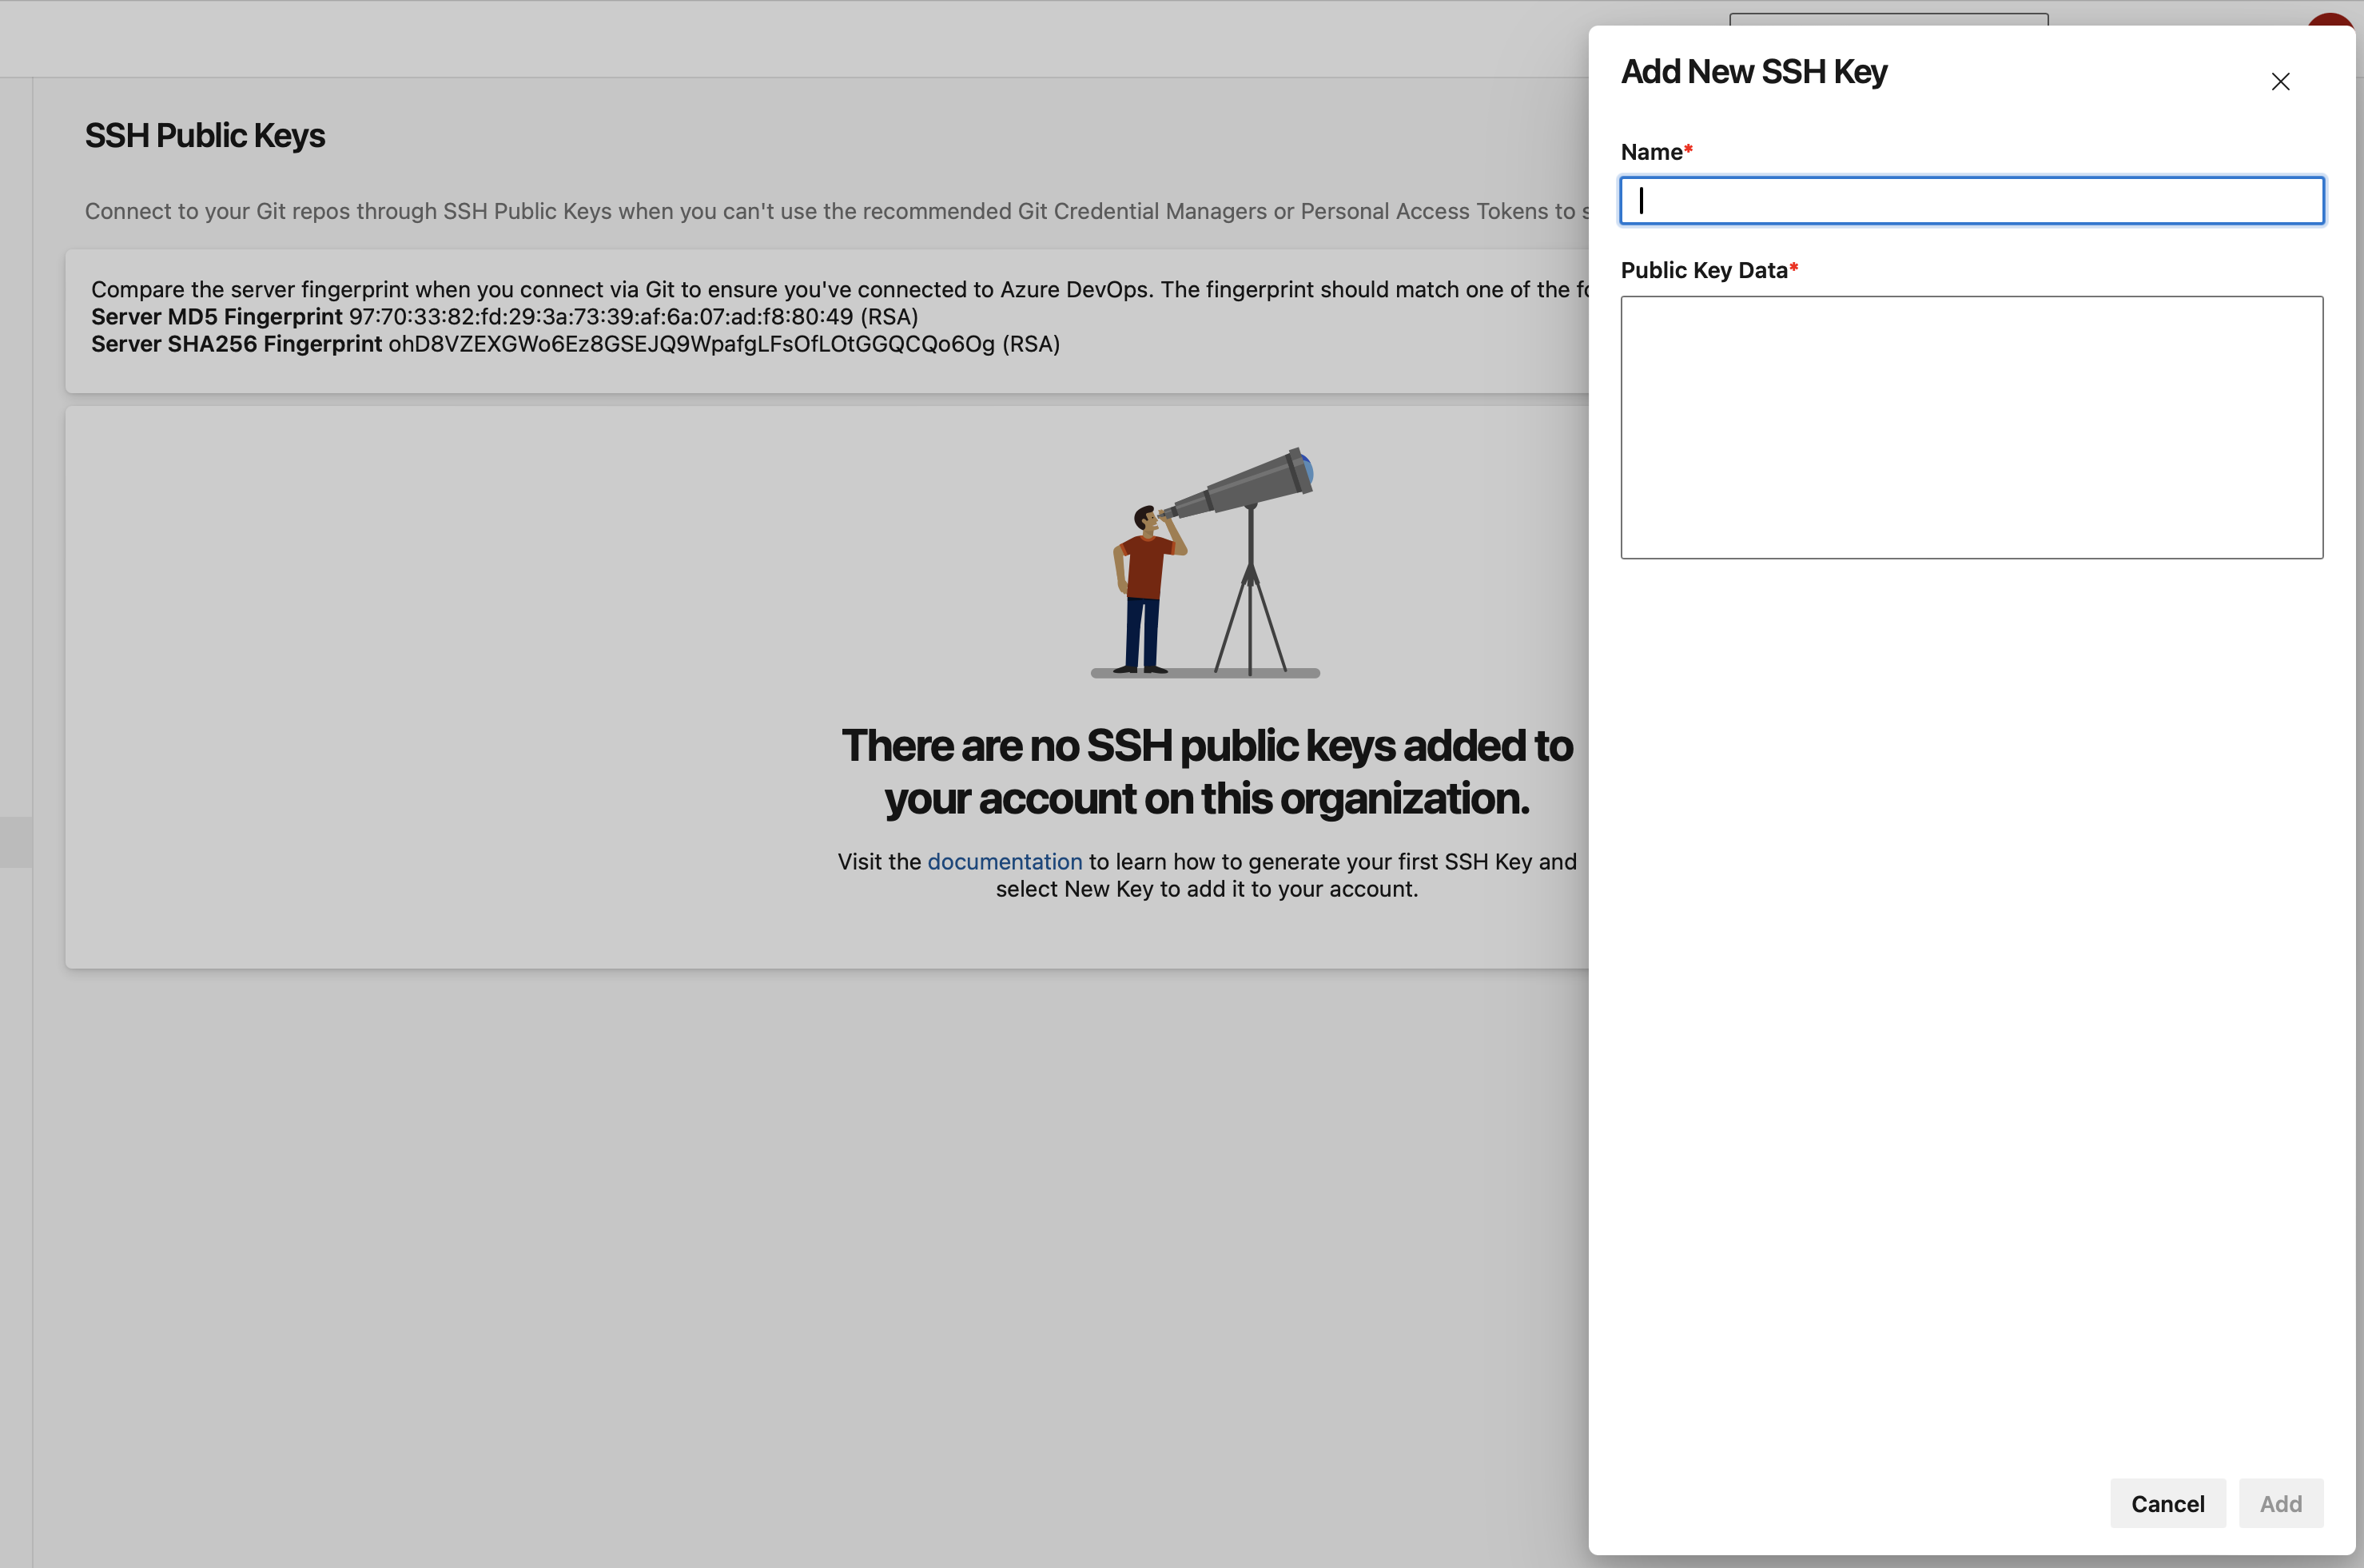
- Add your new key by pasting the copied content and name your key for future reference.
-
Load your SSH key into the SSH agent.
Ensure your SSH key is available for authentication:
ssh-add /path/to/.ssh/id_rsa_ado -
Test SSH connection
Verify connectivity to Azure DevOps:
ssh -T git@ssh.dev.azure.comExpect a message indicating successful authentication but noting that shell access is not supported.
ssh -T git@ssh.dev.azure.com
remote: Shell access is not supported.
shell request failed on channel 0
3 - Upload library to Azure DevOps repo
-
Initialize a local git repository
Navigate to your library's source code directory and initialize a Git repository:
git init -
Commit your library Add and commit your library's source code:
git add .
git commit -m "Initial commit of the sample library" -
Link to Your Azure DevOps Repository
Retrieve your repository's SSH URL from Azure DevOps and add it as a remote:
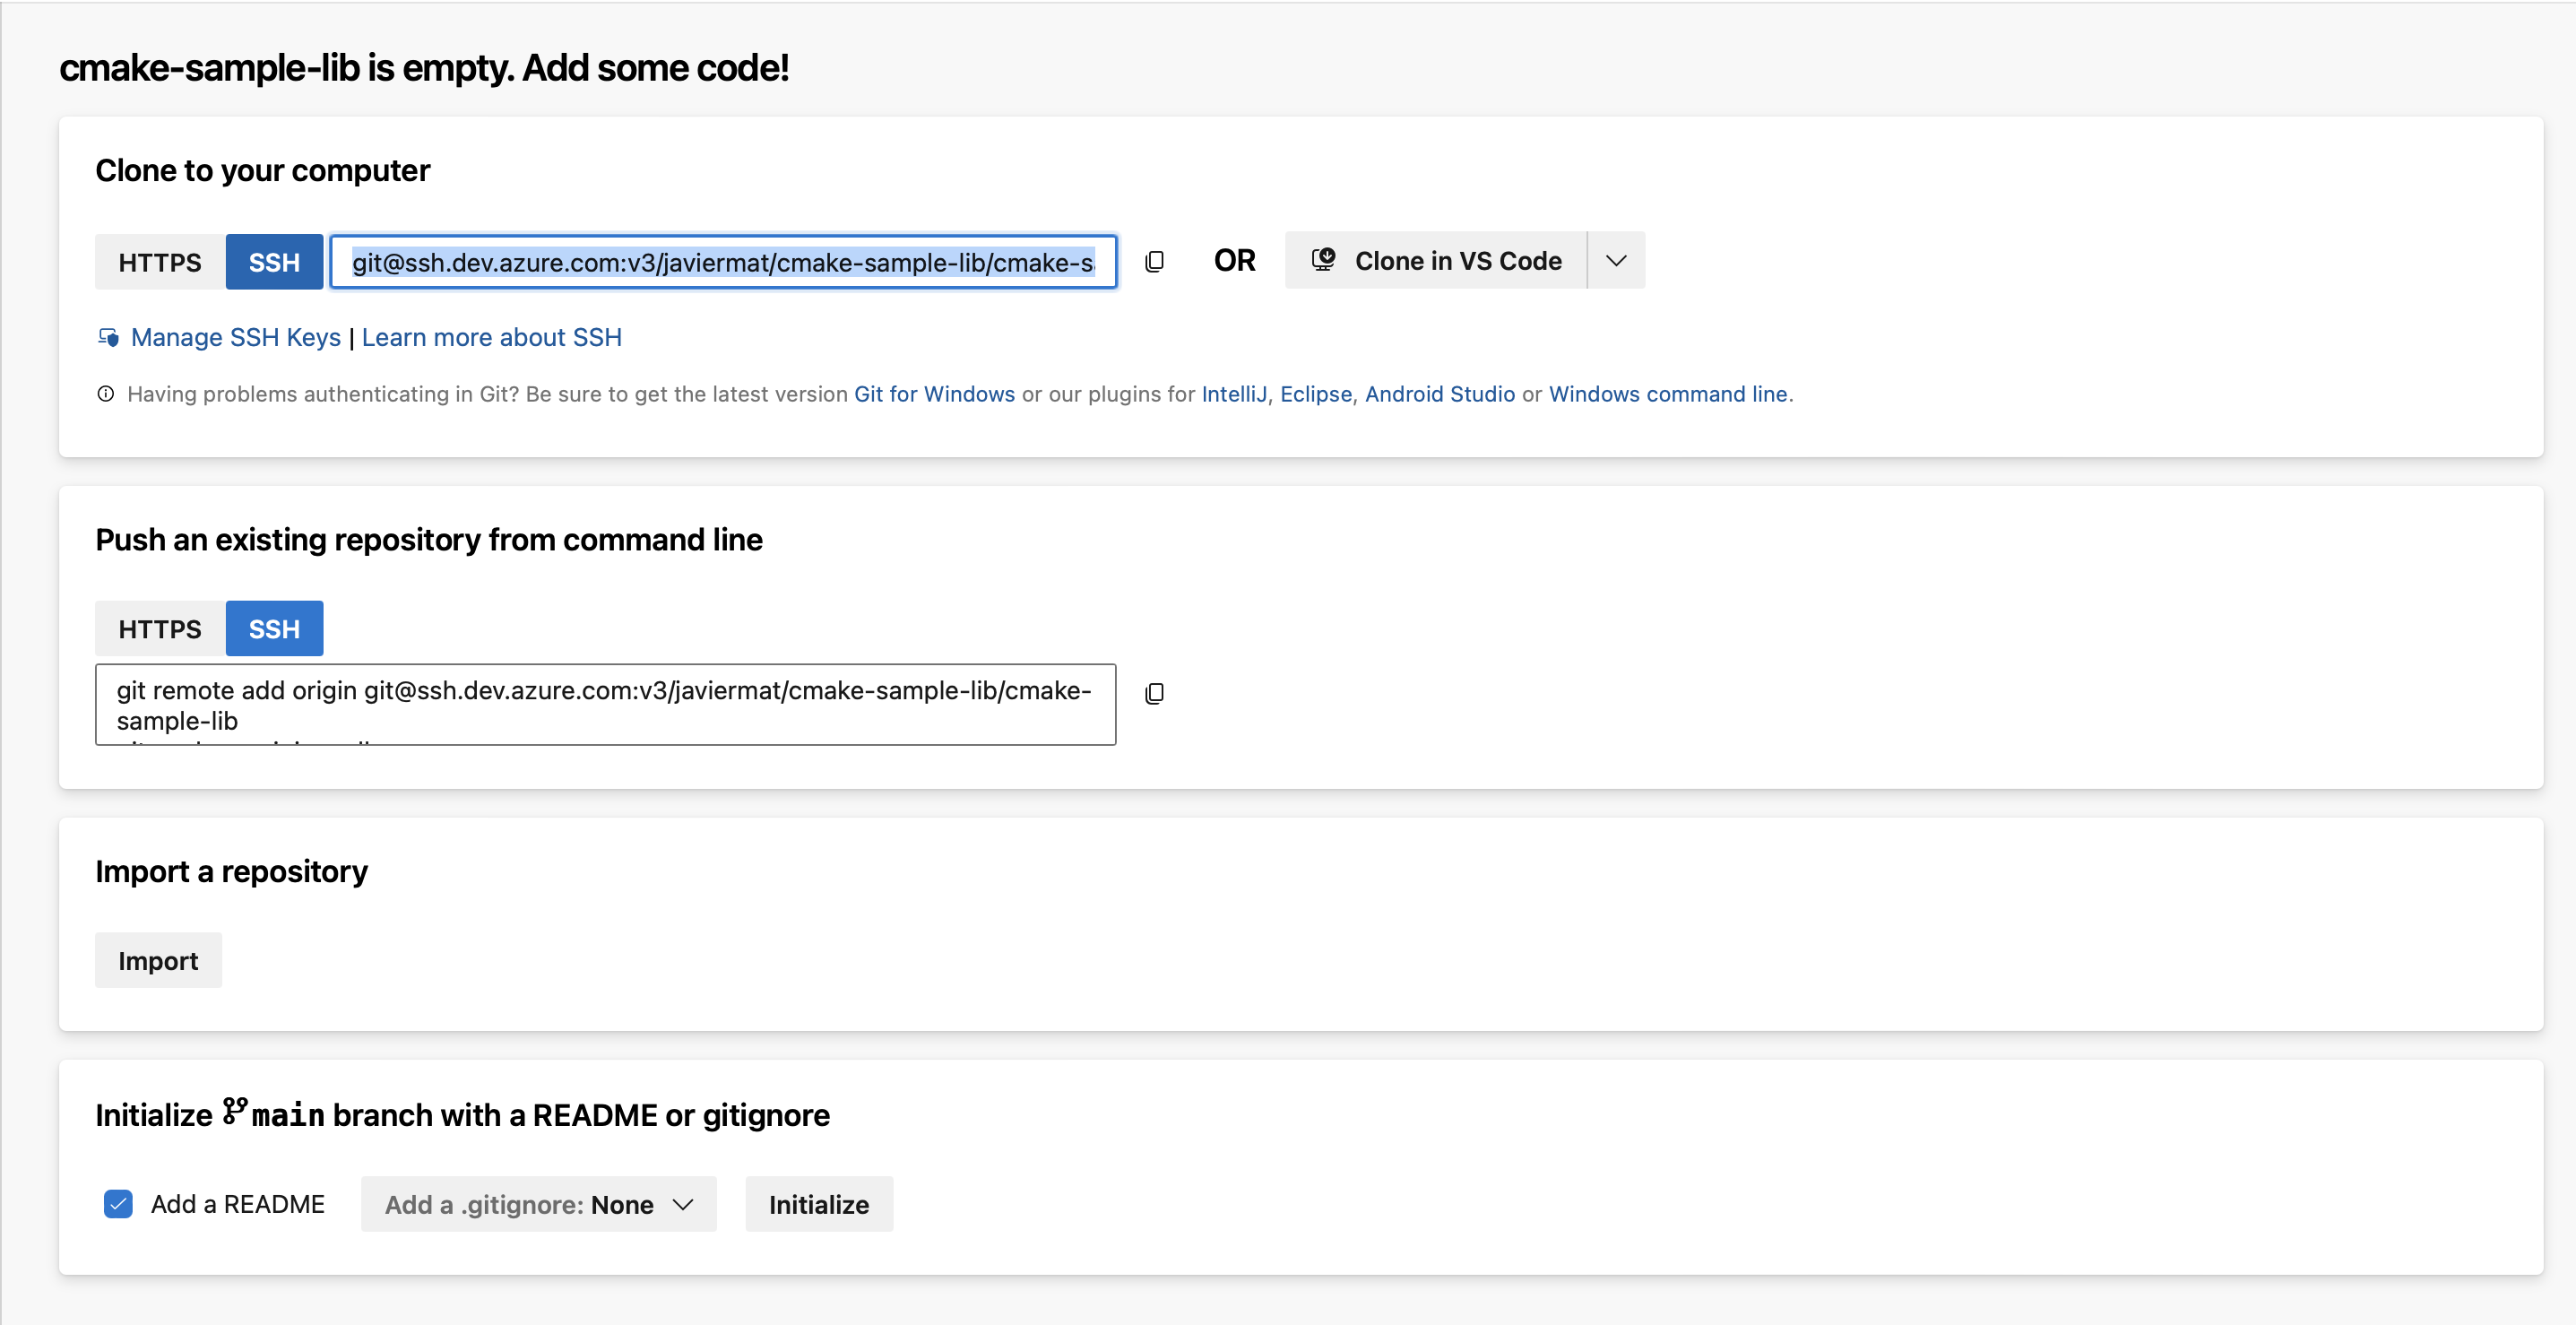
git remote add origin <Your-Repo-SSH-URL>
-
Push Your Library
Upload your library to the Azure DevOps repository:
git push -u origin master:main
4 - Package your library into an overlay port
Overlay ports allow you to use local ports with kmpkg.
-
Create an overlay ports directory
mkdir kmpkg-overlay-ports
cd kmpkg-overlay-ports -
Set up the port files
-
kmpkg.json: This manifest file defines your library's metadata and dependencies.Disclaimer: The following examples use placeholders. Replace them with your actual data.
{
    "name": "your-library-name",
    "version": "1.0.0",
    "description": "Description of your library.",
    "dependencies": []
}
The
kmpkg.jsonfile serves as a manifest that defines metadata and dependencies for a C++ library, providing kmpkg with the necessary information to build, install, and manage the package.name: Specifies the name of the library. This is used as the package identifier.version: Indicates the version number of the library.description: Brief text describing what the library does. This is for documentation and users.dependencies: An array containing the list of dependencies that the library needs.
For more information on how to set up your
kmpkg.json, check out our reference documentation. -
portfile.cmake: This script tells kmpkg how to build your library.kmpkg_from_git(
OUT_SOURCE_PATH SOURCE_PATH
URL "git@ssh.dev.azure.com:v3/YourOrg/YourProject/YourRepo"
REF "<commit-sha>"
)
kmpkg_cmake_configure(SOURCE_PATH "${SOURCE_PATH}")
kmpkg_cmake_install()
kmpkg_cmake_config_fixup(PACKAGE_NAME your-library-name)
file(INSTALL "${SOURCE_PATH}/LICENSE" DESTINATION "${CURRENT_PACKAGES_DIR}/share/your-library-name")This portfile defines how to download, build, install, and package a specific C++ library from GitHub using kmpkg.
kmpkg_from_git: Starts the function to download the source code from a git repository.OUT_SOURCE_PATH SOURCE_PATH: Sets the directory where the source code will be extracted.URL git@ssh.dev.azure.com:v3/YourOrg/YourProject/YourRepo: The SSH URL for the repository containing the source code.REF <commit-sha>: The commit SHA of your library's code in Azure DevOps.kmpkg_cmake_configure: Configures the project using CMake, setting up the build.SOURCE_PATH "${SOURCE_PATH}": The path to the source code downloaded earlier.
kmpkg_cmake_install(): Builds and installs the package using CMake.kmpkg_cmake_config_fixup(PACKAGE_NAME your-library-name): Fixes the CMake package configuration files to be compatible with Kmpkg.file(INSTALL "${SOURCE_PATH}/LICENSE" DESTINATION ...): Installs the LICENSE file to the package's share directory and renames it to copyright.
To obtain the commit SHA:
mkdir temp && cd temp
git init
git fetch <Your-Repo-SSH-URL> main --depth 1 -n
git rev-parse FETCH_HEAD
For more information on how to set up your
portfile.cmake, checkout the following articles:
-
Install your port
Back in your main kmpkg directory, install your library specifying the overlay ports directory:
kmpkg install your-library-name --overlay-ports=/path/to/kmpkg-overlay-ports
Next Steps
You've successfully packaged a private Azure DevOps repository as a kmpkg port. This tutorial is intended as a guideline; please adapt the instructions to fit your specific library and development environment.