Install and use packages with CMake in Visual Studio Code
This tutorial shows you how to create a C++ "Hello World" program that uses the
fmt library with CMake, kmpkg and Visual Studio Code. You'll install
dependencies, configure, build, and run a simple application.
Prerequisites
- Visual Studio Code
- C++ compiler
- Windows 7 or newer
- Git
- Ninja
1 - Set up kmpkg
-
Clone the repository
The first step is to clone the kmpkg repository from GitHub. The repository contains scripts to acquire the kmpkg executable and a registry of curated open-source libraries maintained by the kmpkg community. To do this, run:
git clone https://github.com/kumose/kmpkg.gitThe kmpkg curated registry is a set of over 2,000 open-source libraries. These libraries have been validated by kmpkg's continuous integration pipelines to work together. While the kmpkg repository does not contain the source code for these libraries, it holds recipes and metadata to build and install them in your system.
-
Run the bootstrap script
Now that you have cloned the kmpkg repository, navigate to the
kmpkgdirectory and execute the bootstrap script:
- cmd
- powershell
- bash
cd kmpkg && bootstrap-kmpkg.bat
cd kmpkg; .\bootstrap-kmpkg.bat
cd kmpkg && ./bootstrap-kmpkg.sh
The bootstrap script performs prerequisite checks and downloads the kmpkg executable.
That's it! kmpkg is set up and ready to use.
2 - Create a project folder
If you're running this tutorial in Windows and using MSVC as your compiler you need to start the Visual Studio Code instance from a Developer Command Prompt for VS or Developer PowerShell for VS. This ensures that the compiler path and other environment variables are correctly set up.
Create a folder to hold the project files in a location of your choice. For this tutorial, we create a folder named "helloworld". Then open the folder using Visual Studio Code.
mkdir helloworld
code helloworld
3 - Install Visual Studio Code Extensions
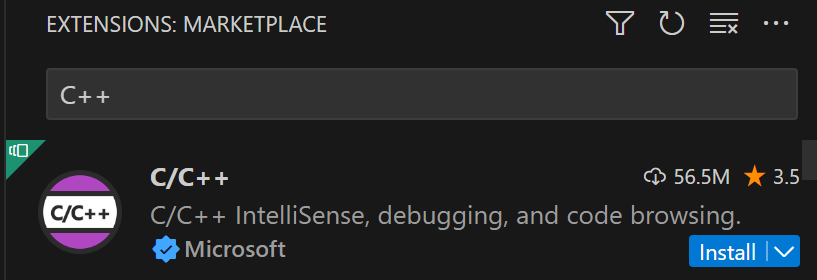
Navigate to the Extension view, and install the C++ Extension. This enables C++ IntelliSense and code navigation.
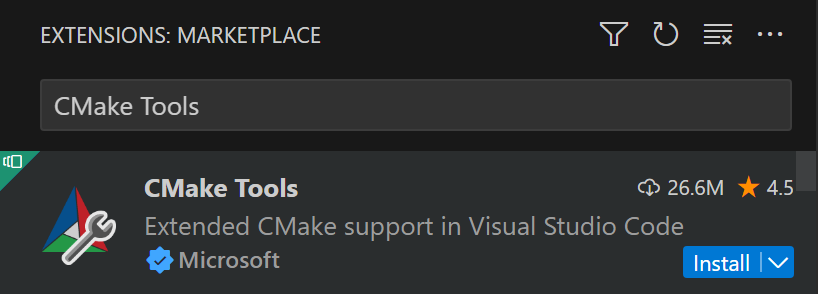
Install the CMake Tools Extension. This enables CMake support in Visual Studio Code.
4 - Set up environment variables
- Configure the
KMPKG_ROOTenvironmental variable.
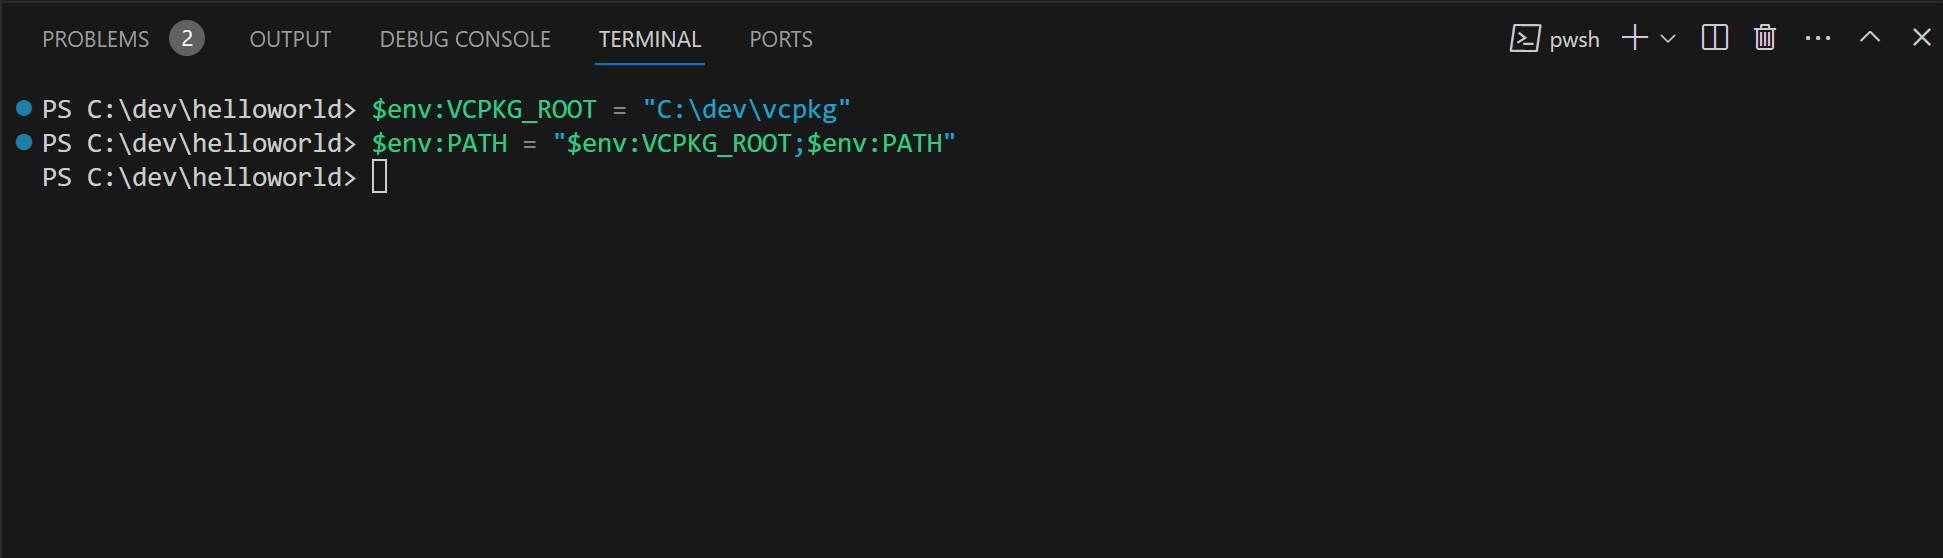
Open a new Terminal in Visual Studio Code: Terminal > New Terminal
Run the following commands:
- powershell
- cmd
- bash
Setting environment variables in this manner only affects the current terminal session. To make these changes permanent across all sessions, set them through the Windows System Environment Variables panel.
$env:KMPKG_ROOT="C:\path\to\kmpkg"
$env:PATH="$env:KMPKG_ROOT;$env:PATH"
Setting environment variables in this manner only affects the current terminal session. To make these changes permanent across all sessions, set them through the Windows System Environment Variables panel.
Setting environment variables in this manner only affects the current terminal session. To make these changes permanent across all sessions, set them through the Windows System Environment Variables panel.
set "KMPKG_ROOT=C:\path\to\kmpkg"
set PATH=%KMPKG_ROOT%;%PATH%
Setting environment variables using the
exportcommand only affects the current shell session. To make this change permanent across sessions, add theexportcommand to your shell's profile script (e.g.,~/.bashrcor~/.zshrc).
export KMPKG_ROOT=/c/path/to/kmpkg
export PATH=$PATH:$KMPKG_ROOT
Setting KMPKG_ROOT helps Visual Studio Code locate your kmpkg instance.
Adding it to PATH ensures you can run kmpkg commands directly from the
shell.
- Generate a manifest file and add dependencies.
Run the following command to create a kmpkg manifest file (kmpkg.json) in
the root of the helloworld folder:
kmpkg new --application
The kmpkg new command adds a kmpkg.json file and a
kmpkg-configuration.json file in the project's directory.
Add the fmt package as a dependency:
kmpkg add port fmt
Your kmpkg.json should now contain:
{
  "dependencies": [
    "fmt"
  ]
}
This is your manifest file. kmpkg reads the manifest file to learn what dependencies to install and integrates with CMake to provide the dependencies required by your project.
The generated kmpkg-configuration.json file introduces a
baseline that
places minimum version constraints on the project's
dependencies. Modifying this file is beyond the scope of this tutorial. While
not applicable in this tutorial, it's a good practice to keep the
kmpkg-configuration.json file under source control to ensure version
consistency across different development environments.
5 - Set up the project files
- Create the
CMakeLists.txtfile
Create a new file named CMakeLists.txt in the root of the project folder with the following content:
cmake_minimum_required(VERSION 3.10)

project(HelloWorld)

find_package(fmt CONFIG REQUIRED)

add_executable(HelloWorld helloworld.cpp)

target_link_libraries(HelloWorld PRIVATE fmt::fmt)
Let's break down what each line in the CMakeLists.txt file:
cmake_minimum_required(VERSION 3.10): Specifies that the minimum version of CMake required to build the project is 3.10. If the version of CMake installed on your system is lower than this, an error will be generated.project(HelloWorld): Sets the name of the project to "HelloWorld."find_package(fmt CONFIG REQUIRED): Looks for thefmtlibrary using its CMake configuration file. TheREQUIREDkeyword ensures that an error is generated if the package is not found.add_executable(HelloWorld helloworld.cpp): Adds an executable target named "HelloWorld," built from the source filehelloworld.cpp.target_link_libraries(HelloWorld PRIVATE fmt::fmt): Specifies that theHelloWorldexecutable should link against thefmtlibrary. ThePRIVATEkeyword indicates thatfmtis only needed for buildingHelloWorldand should not propagate to other dependent projects.
- Create the
helloworld.cppfile with the following content:
#include <fmt/core.h>

int main()
{
    fmt::print("Hello World!\n");
    return 0;
}
In this helloworld.cpp file, the <fmt/core.h> header is included for using
the fmt library. The main() function then calls fmt::print() to output
the "Hello World!" message to the console.
To allow the CMake project system to recognize C++ libraries provided by
kmpkg, you'll need to provide the kmpkg.cmake toolchain file. To automate
this, create a CMakePresets.json file in the "helloworld" directory with the
following content:
    {
  "version": 2,
  "configurePresets": [
    {
      "name": "kmpkg",
      "generator": "Ninja",
      "binaryDir": "${sourceDir}/build",
      "cacheVariables": {
        "CMAKE_TOOLCHAIN_FILE": "$env{KMPKG_ROOT}/scripts/buildsystems/kmpkg.cmake"
      }
    }
  ]
}
- Create
CMakeUserPresets.jsonfile in the "helloworld" directory with the following content:
{
  "version": 2,
  "configurePresets": [
    {
      "name": "default",
      "inherits": "kmpkg",
      "environment": {
        "KMPKG_ROOT": "<path to kmpkg>"
      }
    }
  ]
}
This CMakePresets.json file contains a single "kmpkg" preset for CMake and
sets the CMAKE_TOOLCHAIN_FILE variable. The CMAKE_TOOLCHAIN_FILE allows
the CMake project system to recognize C++ libraries provided by kmpkg. Only
CMakePresets.json is meant to be checked into source control while
CMakeUserPresets.json is to be used locally.
6 - Build and run the project
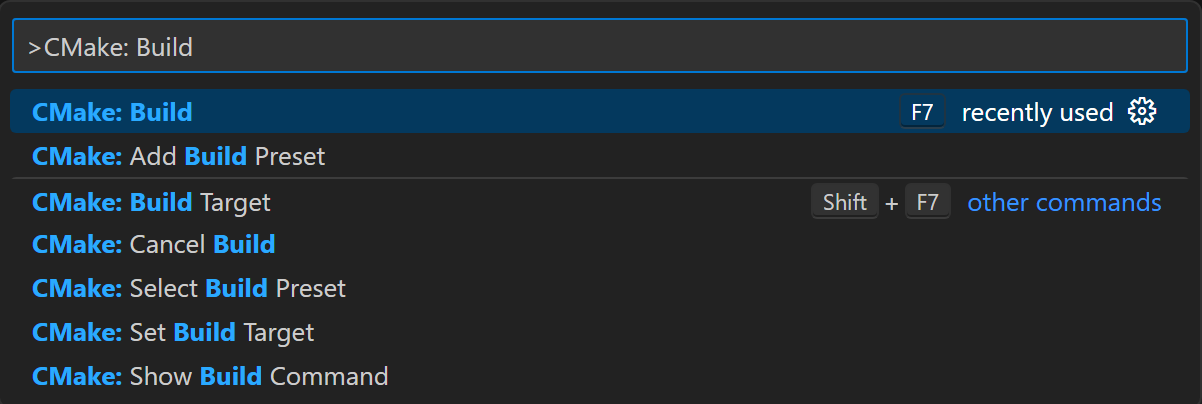
- Run the
CMake: Buildcommand the project by navigating to the Command Palette in View > Command Palette
Select the default CMake preset. This enables the kmpkg toolchain.

- Launch the project
Run the program:
- cmd
- bash
./build/HelloWorld.exe
./build/HelloWorld
You should see the output:
Hello World!
Next steps
To learn more about kmpkg.json, see our reference documentation: